← Use Sector Confirmation to Improve Your Trading Results
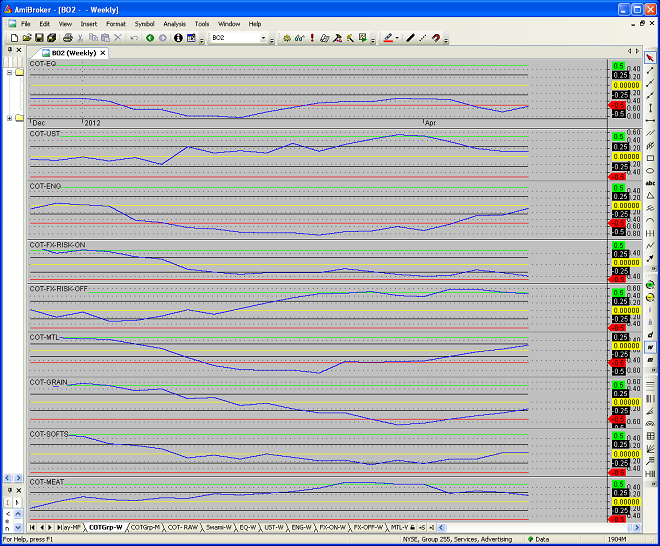
Figure 2: Group COT Indicator
Group COT Indicator